Using Loop Table
The Loop Table lets you repeat steps in a test using different data from each row of a table provided to it. In each iteration, the loop picks a new row of data, allowing you to perform the same actions with different values each time. (e.g., entering form details or testing various inputs).
Creating and Using a Table Variable with Loop Table
In order to use a loop table, you will need to create a Table type data, which can be a test variable, project variable, environment variable or test parameter. Here’s how to set it up:
Creating a Table Variable
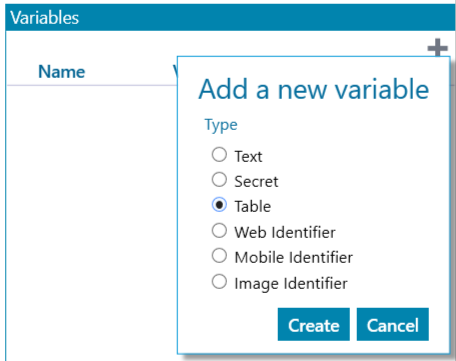
- Click the + icon to add a new variable.
- In the popup, select Table.
- Click Create to create a table variable.
Assigning value to Table Variable
- Click on the Add Table icon to upload a CSV file into the table variable.
- Select the desired CSV file that you want to iterate over.
- Click on Confirm to save the CSV content in our table variable.

Maximum CSV file size (200 KB).
Assigning a Table to the Loop Table
- Double-click on the loop or hover over the loop and click on the spanner icon to open the configuration options.
- Select Loop Table radio button.
- Drag and drop the table variable onto the loop table or click on the Loop Table value field and begin typing the Name or Value of the table variable.
Understanding and Using Table Headers
What Are Table Headers?
Table headers are the first row in a table that defines the labels for each column. They act as identifiers for the data in that column. For example, if a table is used to store information employee data, the headers could be First Name, Last Name, Age, Email, etc with the rows underneath containing the corresponding data for each person.
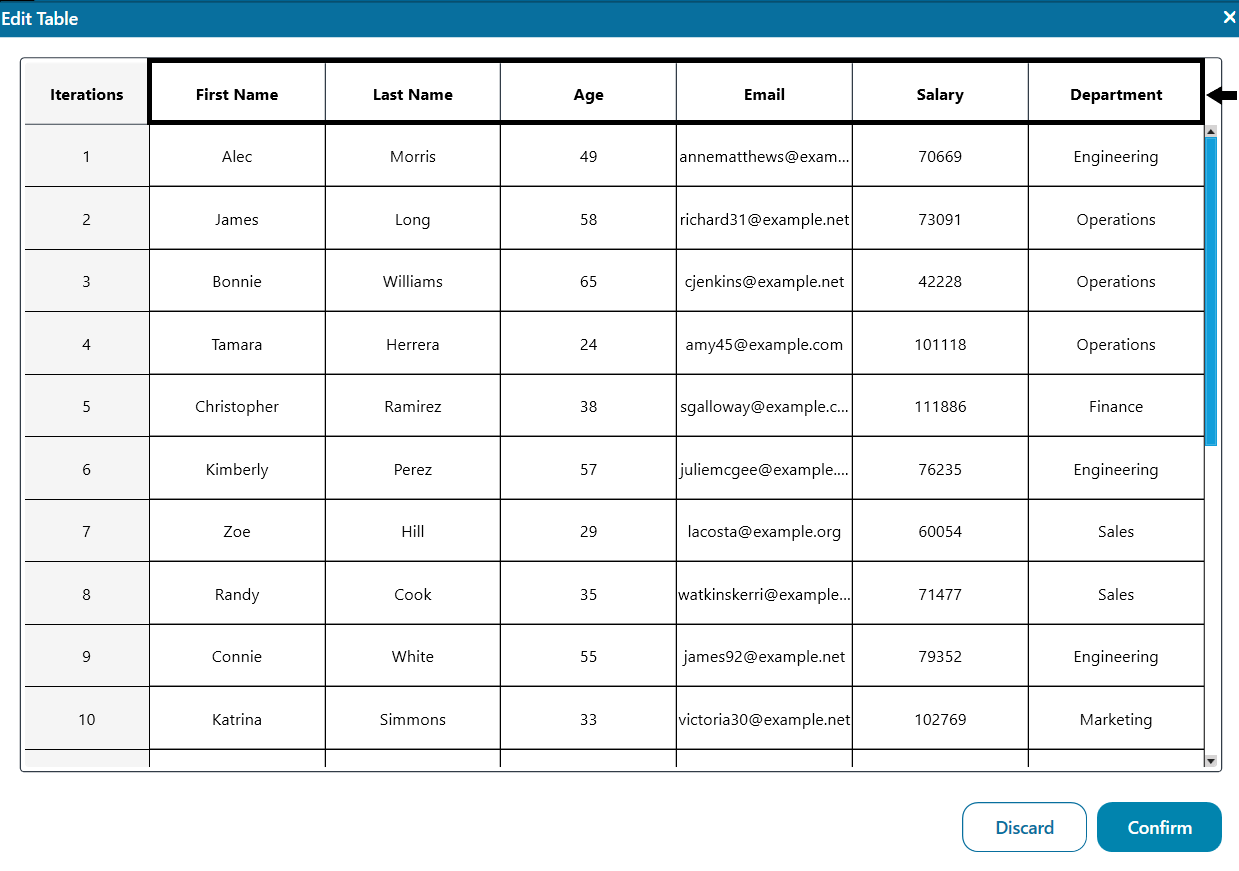
Table headers can also be viewed when u click on the > icon besides the table data
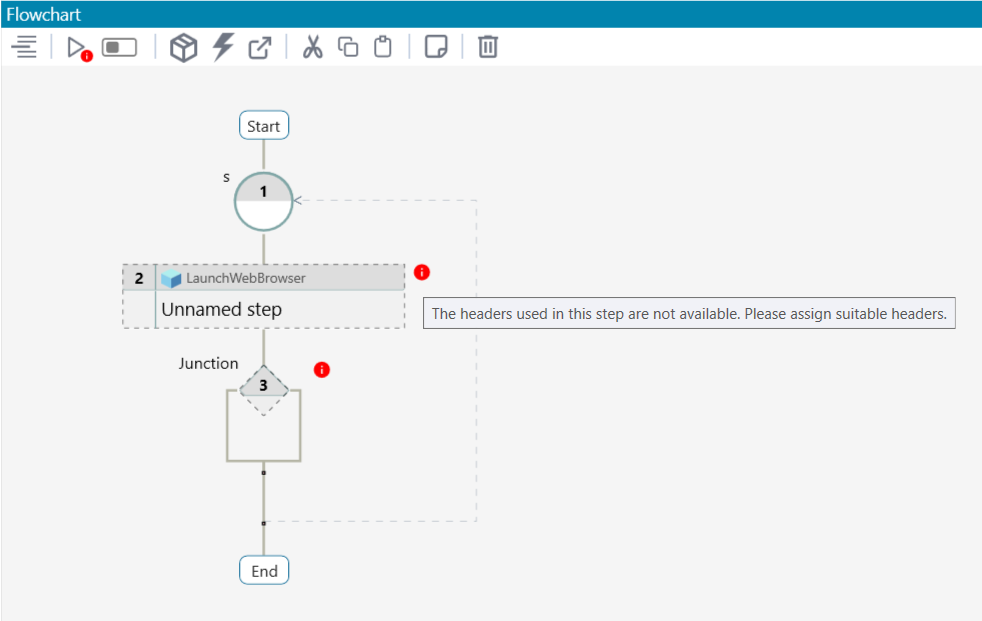
Assigning Table Headers to Steps in a Loop
Assigning table headers to steps ensures that each step receives a value from the row corresponding to the current iteration.
- Add the steps that require different data on each iteration inside the loop. You can do this either by right-clicking on the connector line below the loop and selecting Insert Step, or using the Insert an element option from the toolbar and selecting Within.
- To assign table headers to the loop, ensure that a table is assigned to the loop first.
- Click on the > icon next to the table variable to view the table headers.
- Drag and drop the table headers into the steps inside the loop, or type the header name into the step value field and select it from the dropdown.

When the loop runs, it will automatically iterate over the rows in the table. For each iteration, the steps inside the loop will receive the value from the corresponding row in the table for that specific iteration. For instance, if the loop is on the third iteration, the steps will receive the values from the third row of the table, corresponding to the data in that row.
Some important notes
- We cannot have both loop count and loop table enabled or have values assigned to both simultaneously.
- If steps inside a loop are copied elsewhere and a table header is assigned to the step, new test variables will be created for the copied steps.
- Switching from loop table to loop count will prompt a warning and delete any headers assigned to steps inside the loop.
- Tables can only be used in loops or passed as arguments to composite components. However, table headers can be passed to any test step.
- If an environment variable is used in a loop and the environment is later changed, mismatched headers may cause execution issues. Ensure that headers are reassigned from the new environment to avoid such problems.